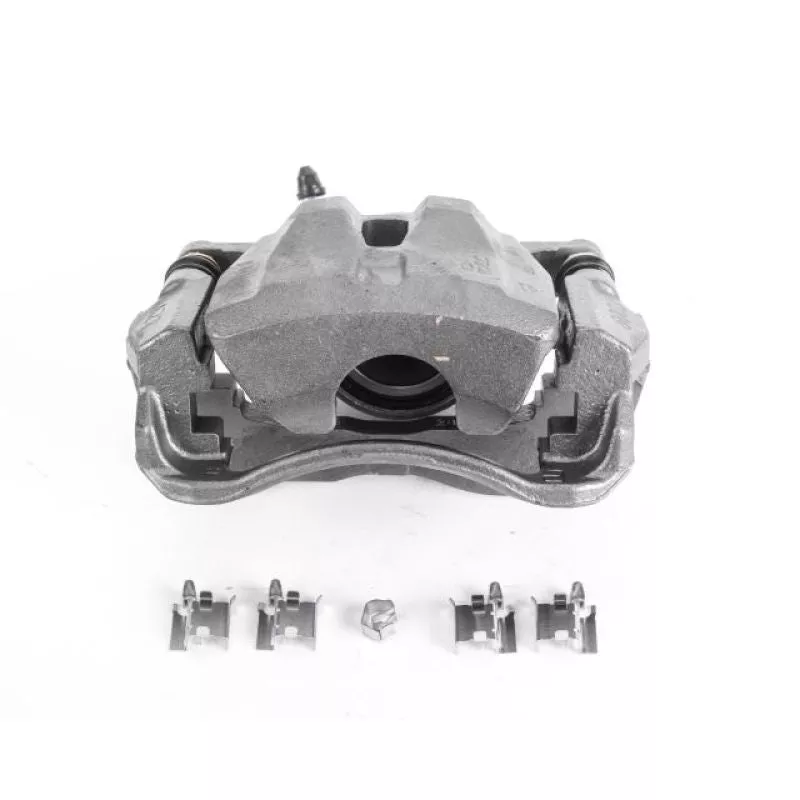
Front Autospecialty OE Replacement Caliper (sold individually) Built for a Direct, Noise Free Fit
The PowerStop L3435 Autospecialty OE replacement Caliper delivers OE grade Caliper for the front axle (sold individually), engineered for a direct, no modification installation that restores reliable stopping performance. Check the fitment table below to confirm coverage for your specific year, make, and model.
Key Features
- PowerStop part number L3435
- OE style construction for a direct, no modification installation
Fitment
| Year Range | Make | Model |
|---|---|---|
| 2008-2014 | Scion | Xd |
| 2009-2010 | Pontiac | Vibe |
| 2009-2013 | Toyota | Matrix |
| 2009-2019 | Toyota | Corolla |
Specifications
| Detail | Value |
|---|---|
| Manufacturer Part Number | L3435 |
| Brand | PowerStop |
| Position | Front |
| Condition | New |
What’s Included
- 1 caliper per box, sold individually.
About PowerStop
PowerStop engineers brake components in the USA and tests every product on real vehicles before it ships. The lineup covers stock replacement pads and rotors through carbon ceramic performance and truck duty parts, all built to restore or improve on factory braking performance.
FAQ
Will this fit my vehicle exactly as listed
Check the fitment table above for the exact years, make, and model this part covers. Some model years use different rotor or trim configurations, so confirm your specific submodel before ordering if one is noted.
What is included in the box
This listing includes the component itself. Mounting hardware is included only when stated in the specifications table above.
Do I need any special tools to install this
Basic hand tools are typically sufficient for installation. A torque wrench is recommended to bring fasteners to the manufacturer’s specified torque.
Is this a direct replacement for the factory part
Yes, this part is designed as a direct fit replacement for the listed applications using the factory mounting points, so no vehicle modification is required.
What is the expected break in or service period
Standard break in and service intervals apply. Follow the installation instructions below for the recommended break in procedure to reach full performance.
Can I install this myself or do I need a professional
Many owners install this part themselves with common tools and a lift or jack stands. If you are not comfortable with brake or suspension work, a certified technician is recommended.
Does this come with a warranty
This part is covered by the manufacturer’s standard warranty against defects in materials and workmanship. Retain your receipt as proof of purchase.
Will this work with my aftermarket wheels
Most stock diameter aftermarket wheels clear this part without issue. If you run very low offset or small diameter wheels, verify clearance before ordering.
Installation Instructions
- Raise the vehicle and secure it on jack stands
- Remove the wheel to access the component
- Remove the retaining hardware for the worn component
- Install the new component using the original hardware or included hardware
- Torque all fasteners to the manufacturer’s specification
- Reinstall the wheel and lower the vehicle
- Repeat on the opposite side if applicable
- Test brakes at low speed before normal driving